


The Media Library of your radio stream panel is where you upload and organize the audio files used by AutoDJ.
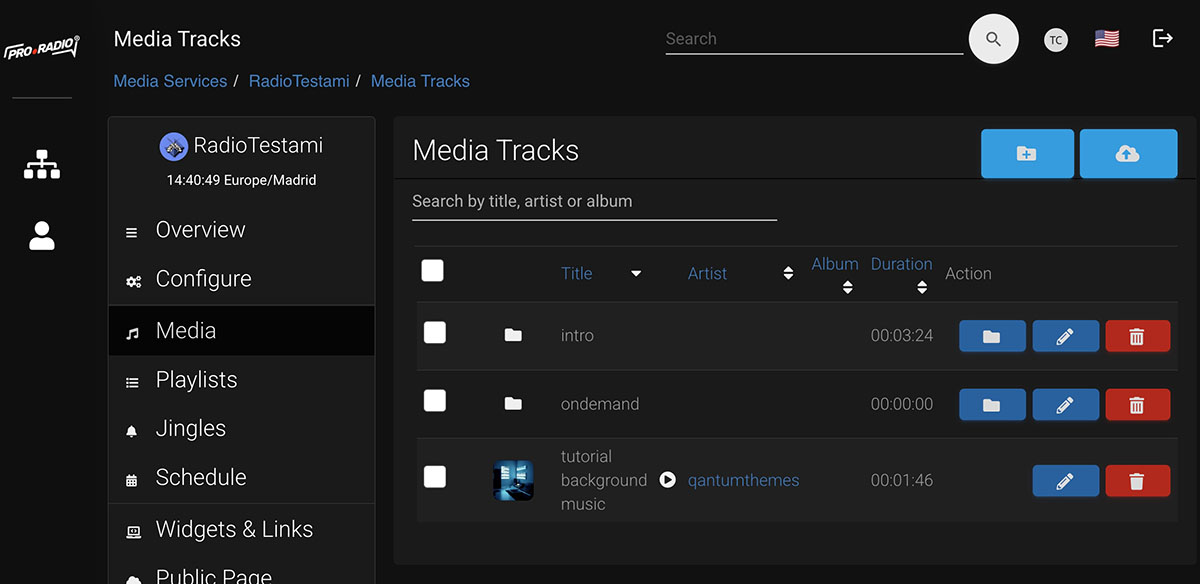
Step 1: From the left menu click Media
This opens the Media Library. Here you can see your folders, tracks and uploaded files.
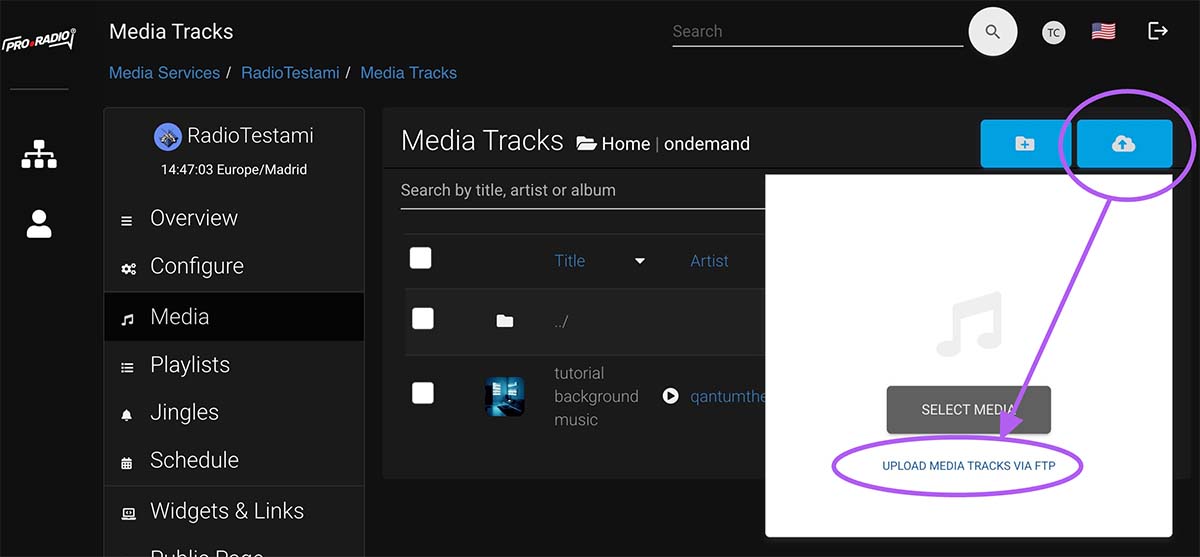
Step 2: Upload your audio files
Use the upload option to send MP3 files to your station. Wait until the upload is complete before closing the page.
IMPORTANT: Make sure the upload mp3 files have the same bitrate as your radio stream.
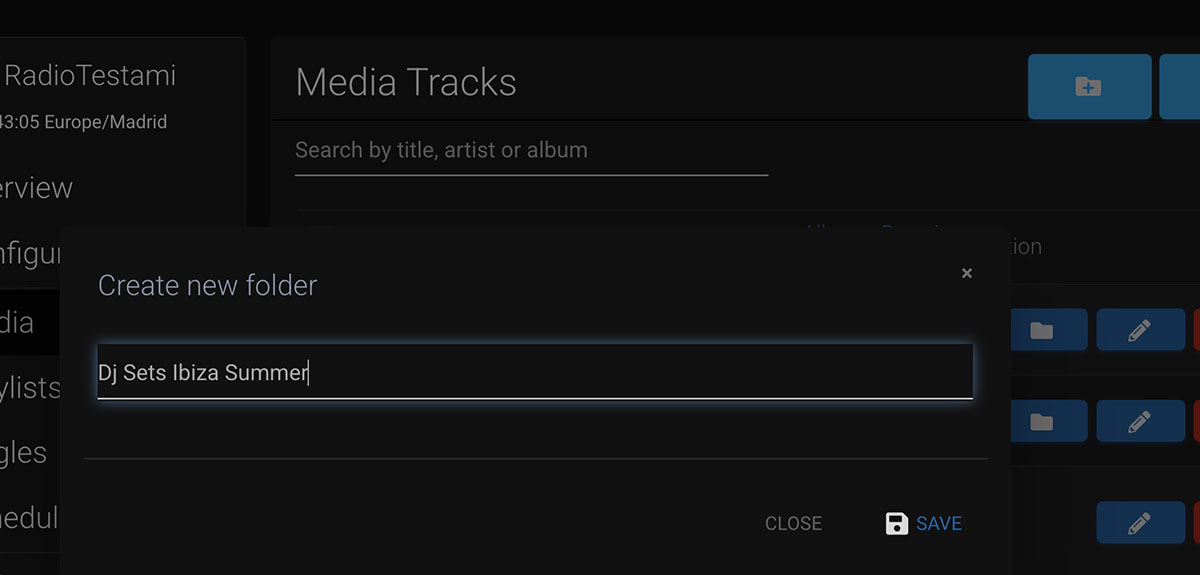
Step 3: Create folders
Create folders to keep your music organized. A simple structure is enough, for example Music, Jingles, Ads, Shows and Specials.
Important: the Intro folder should not be deleted, it's used by default in case the source is not working or audio interrupts.
Step 4: Move files into the correct folders
Place music in the Music folder, jingles in Jingles, and adverts in Ads. Good organization makes playlist creation much easier later.
You can drag and drop files into folder as normal files in your desktop.
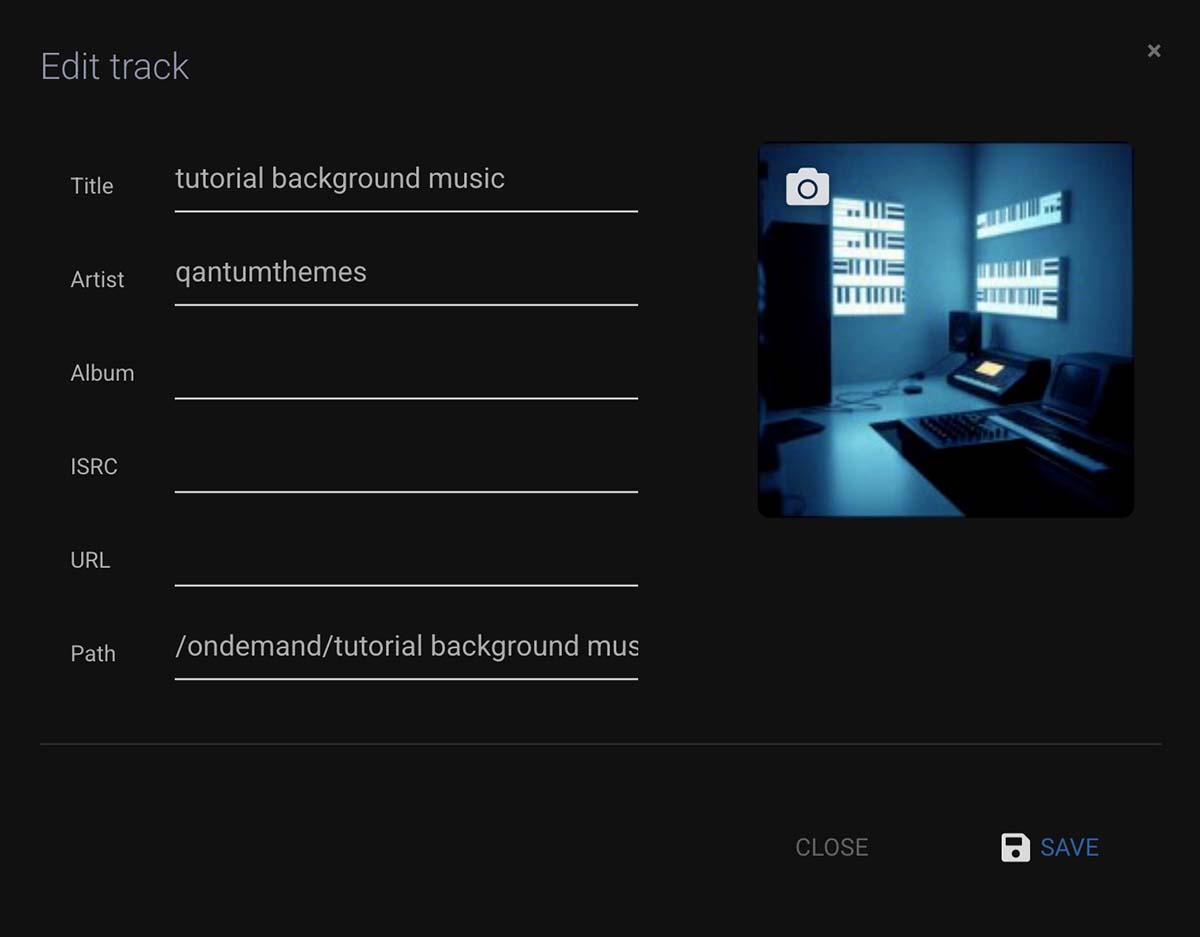
Step 5: Check track information
After upload, review the track title, artist and album information. If needed, edit incorrect data so your station metadata looks clean.
Step 6: Optional FTP upload
If you prefer, you can upload files by FTP using the FTP details shown in the Media Library area.
Tips
- Use clear folder names from the start.
- Fix bad titles or artist names now, otherwise your player may show messy metadata.
- Do not upload random unsupported files. Use clean audio files only.
